
The Craft of Perfect Tile Installation Revealed
From choosing the right materials to the final grout lines, the craft of tile installation involves a careful process that requires attention to detail and a thoughtful approach.
Tile installation is an art form that combines precision, patience, and skill. Whether you're transforming your kitchen, bathroom, or any other part of your home, the quality of tile work can elevate the entire space. There's more to tile installation than simply laying down a few tiles; it's about creating a seamless, durable surface that blends beauty with functionality. From choosing the right materials to the final grout lines, the craft of tile installation involves a careful process that requires attention to detail and a thoughtful approach.
Preparing the Surface for Success
A successful tile installation starts long before the first tile is even laid. The preparation of the surface is critical in forming a smooth and durable foundation for your tiles. Uneven, dirty, or damaged surfaces can lead to issues down the line, like cracked tiles or grout that doesn't set properly.
Surface preparation typically involves cleaning the area to remove any dirt, dust, or debris. If there are any cracks or holes, they must be filled and smoothed out. The surface must also be dry, as moisture can interfere with the adhesive and cause tiles to shift or come loose over time. Whether you're working with concrete, drywall, or an existing tiled surface, taking the time to prep the area properly is essential to achieving a professional finish.
Choosing the Right Tile for the Job
Selecting the right tile for your project is one of the most important decisions you'll make. With countless materials, shapes, sizes, and colors to choose from, finding the perfect match for your design vision can be exciting. Ceramic and porcelain tiles are the go-to choices for most residential applications, but there are also options like natural stone, glass, and mosaic tiles that can add a hint of uniqueness to your space.
It's essential to consider where the tiles will be installed. High-moisture areas like bathrooms and kitchens benefit from water-resistant tiles like porcelain or ceramic. For high-traffic areas such as hallways or living rooms, choose durable tiles that can withstand heavy foot traffic, such as porcelain or natural stone. Color, texture, and pattern should also be selected to complement the existing design, keeping in mind that lighter colors can make small spaces seem larger. At the same time, darker tones create a more intimate atmosphere.
The Importance of Accurate Measurement
Measurement is the backbone of a successful tile installation. To achieve a uniform look and minimize waste, precise measurements are essential. This process involves measuring the area where the tiles will be laid, considering the size of the tiles, and accounting for any patterns or designs that will influence the layout.
Tile installers often use a technique called "dry laying," where they lay out the tiles without adhesive to see how they will fit in the space. This helps to plan for any cuts that might be necessary and allows you to visualize how the tiles will look before committing to installation. Proper measurement also helps avoid the frustration of running out of tiles midway through the project, verifying that you have enough material to complete the job.
Cutting Tiles with Precision
Tile cutting is one of the more technical aspects of tile installation. While it may seem like a straightforward task, precision is key to achieving clean, professional edges that align perfectly with the rest of the tiles. Special tools like tile cutters or wet saws are used to make precise cuts, especially for tiles that need to fit around corners or obstacles.
When cutting tiles, it's essential to measure and mark the tiles accurately before cutting. A steady hand and patience are crucial, as rough or uneven cuts can ruin the visual flow of the design. For intricate cuts, like those needed around plumbing fixtures or outlets, a tile nipper or a specialized angle cutter may be necessary. The goal is to create clean lines that fit together seamlessly, helping to create a polished final look.
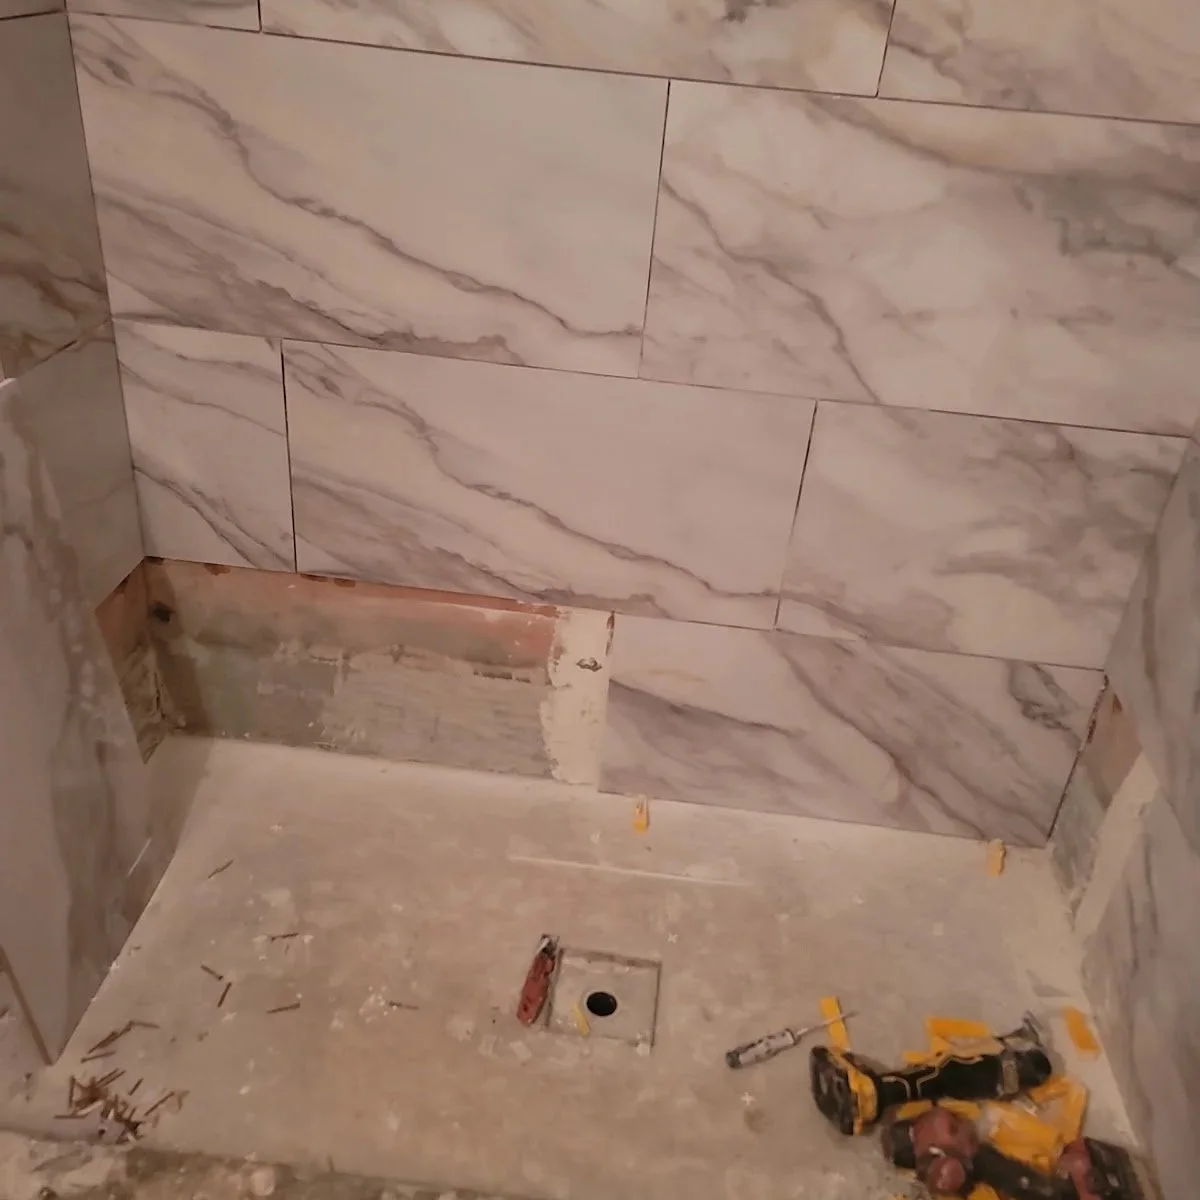
Laying the Tiles with Care
Once the tiles are ready and the surface is prepared, it's time to start laying them. Using the correct adhesive is essential for a strong bond between the tile and the surface. Mortar, thin-set, or tile adhesive comes in a variety of forms, but the key is applying the adhesive evenly and in the right amount. Too much adhesive can make the tiles shift or lift, while too little can lead to weak adhesion and loose tiles.
Tiles are typically installed with a consistent gap between them, which is where grout lines come into play. Tile spacers help to maintain uniform gaps for the grout and help the tiles align perfectly. Start in the center of the room or area and work your way out to the edges, making sure each tile is firmly pressed into the adhesive and level with the others. Checking the alignment regularly and adjusting as necessary guarantees a smooth and professional-looking finish.
Grouting: The Finishing Touch
Grouting is the last step in tile installation, and while it may seem like a simple task, it plays a substantial role in the durability and appearance of the finished project. Grout fills the gaps between tiles, providing both a functional and aesthetic purpose. It prevents debris and moisture from getting between the tiles, which can generate mold or damage over time.
When applying grout, make sure to choose a grout color that complements the tiles and the overall design. White or light-colored grout can brighten up a space, while darker grout adds contrast and makes the tiles stand out. Grouting involves spreading the grout over the tiles using a rubber float, working it into the gaps, and ensuring all the spaces are filled. After applying the grout, the surface is wiped clean with a damp sponge to remove excess grout, leaving smooth, even lines between the tiles.
Sealing the Deal
Once the grout has dried, it's important to apply a grout sealer to protect it from moisture and stains. Sealing the grout will help hold its appearance and prevent discoloration over time. Depending on the type of grout and tile, you may also want to seal the tiles themselves, especially if you've used porous materials like natural stone.
Sealing is a simple process that involves applying a thin coat of sealant over the grout lines and allowing it to dry. Regular sealing, particularly in high-moisture areas like bathrooms, will help preserve the tiles and grout and ensure the longevity of your installation.
Why Professional Installation Matters
While DIY tile installation can seem like an appealing project, professional tile installation offers many benefits, professional installers have the experience, tools, and expertise to handle complex designs and challenging layouts. They know how to prepare surfaces, make accurate cuts, and lay tiles with precision, guaranteeing a flawless finish that lasts for years.
In addition, professionals are skilled at troubleshooting potential problems that may arise during the installation process. They can address issues like uneven surfaces, improper adhesive application, or challenges with unique tile patterns before they become costly problems.
Tile installation is a delicate craft that requires skill and attention to detail. Whether you're revamping a kitchen, bathroom, or any other part of your home, proper installation can elevate the space and design a lasting impression. By selecting the right materials, measuring accurately, and employing careful techniques, you can achieve a professional-quality finish that makes your home shine. Whether you're a DIY enthusiast or seeking professional help, mastering the craft of tile installation is an investment in your home's beauty and longevity.
Trust Clover Valley Home Service for professional kitchen countertops, electrical, plumbing, tile installation, flooring installation & repair, and epoxy floor coatings in Greater Sacramento, Placer, & El Dorado Counties. We cater to a wide variety of home services and repairs, guaranteeing quick and efficient solutions and outstanding customer satisfaction. Call today to learn more.